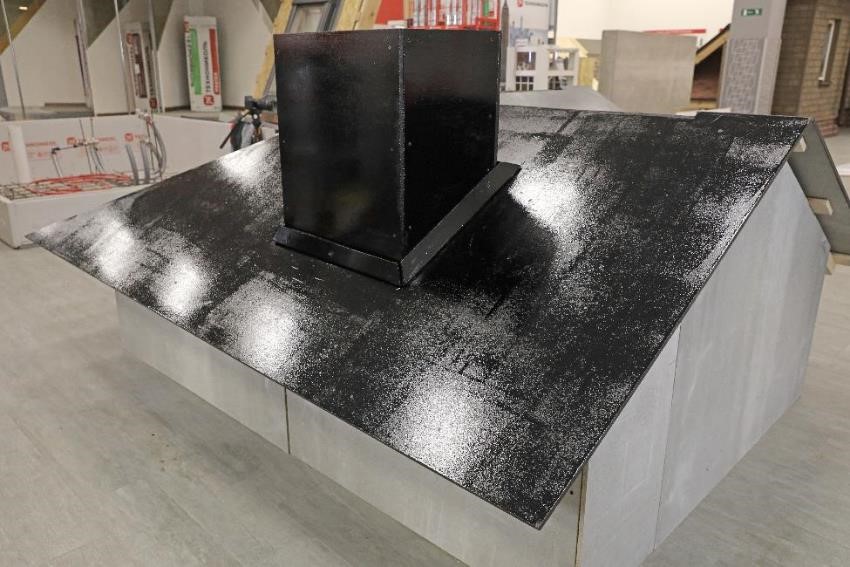
Torch-on application of roofing shingles
When one can use the torching method for the application of TECHNONICOL roofing shingles, and how to do it correctly?

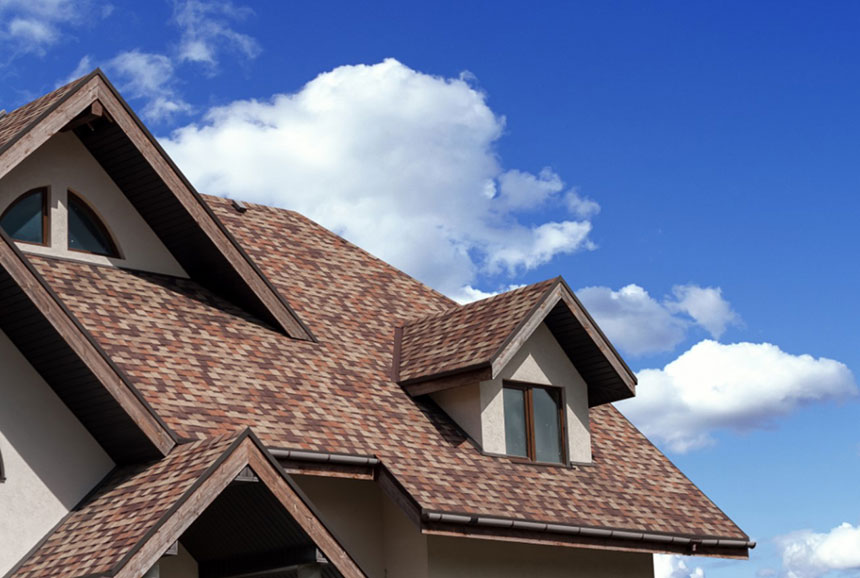
Roofing shingles by TECHNONICOL have firmly taken their place among the roofing coverings the private developers give the preference. It has high-performance characteristics, as well as the simplicity and technical effectiveness of the installation. Today, thanks to manufacturer innovations, application possibilities of roofing shingles have become even wider.
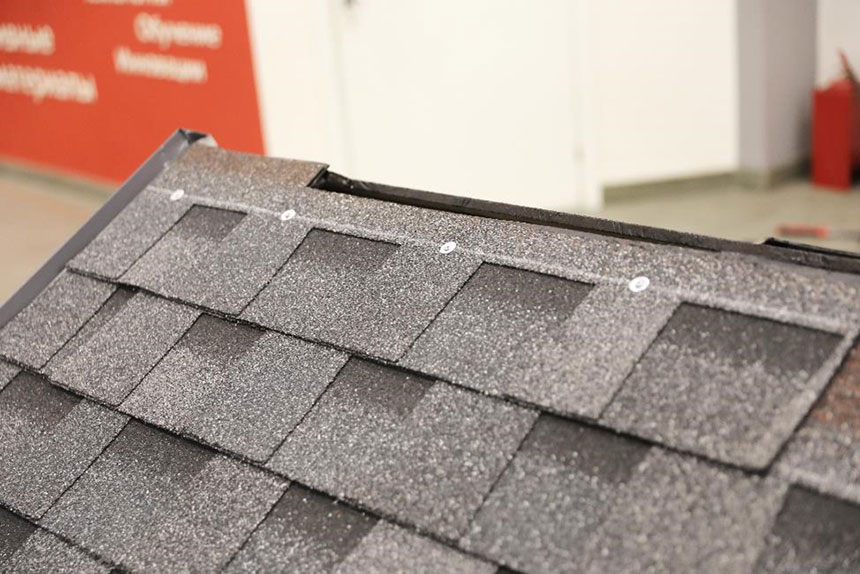
Based on fiberglass impregnated with modified bitumen, roofing shingles are highly durable, easily tolerate temperature drops, and have low weight. Thanks to its flexibility, roofing shingles are optimally suited for roofs of complex shapes. The material is installed on roofs with a slope of at least 12⁰ on top of a solid decking made of OSB-3 boards, moisture-resistant plywood, tongue or groove planks. In combination with special polymer-bitumen membranes from UNDERLAY series, which provides for mechanical, adhesive or combined mounting, the roofing shingles form a reliable sealed coating that will last for many decades. Shingles are to be fastened with galvanized roofing nails. Thanks to the self-adhesive layer on the backside, shingles are additionally stuck under the influence of sunlight.
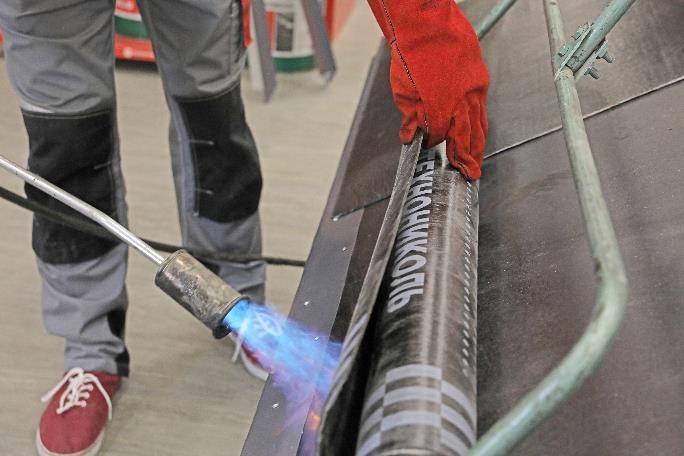
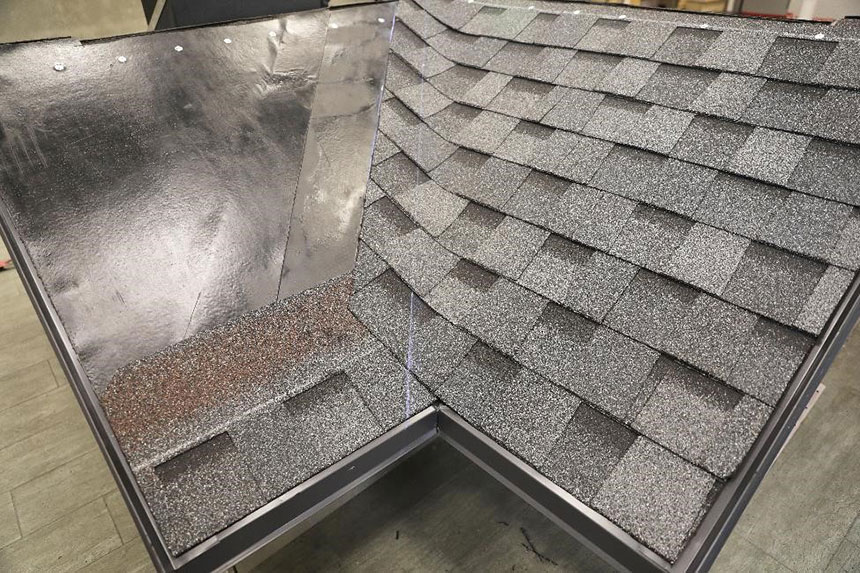
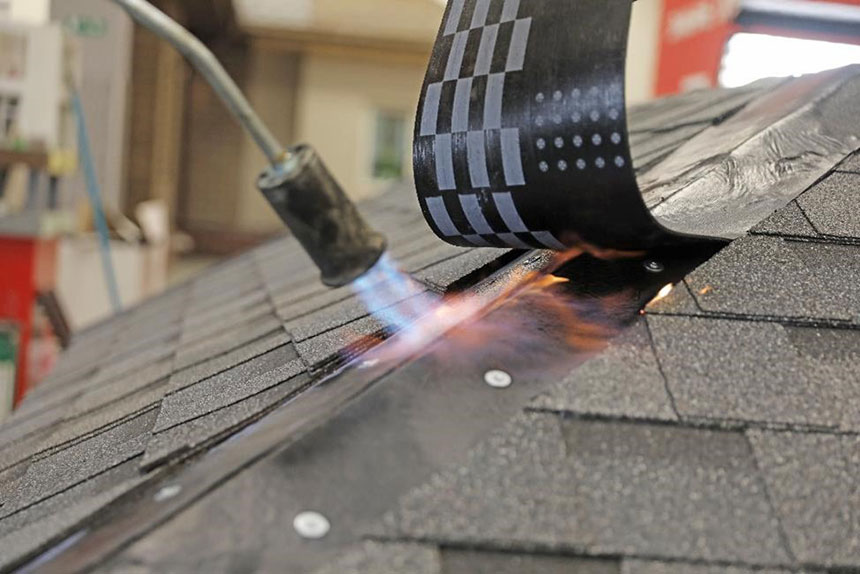
But sometimes mechanical fastening of roofing shingles is impossible. For example, when the roofing substrate is made of cast-in-place reinforced concrete, fiber-cement boards, cement-bonded particleboards or asbestos-cement sheets. Such a base has increased strength, stability and is optimal for regions with a hot and humid climate. In such cases, the roofing shingles manufacturer TECHNONICOL offers to install the roof by the torching method. At the same time, this application method minimizes the requirements for the roof slope to 5⁰. The torching method is suitable for all types of single-layer and double-layer roofing shingles. During installation, one should always direct the flame of the torch to a special APP-modified bitumen underlay membrane ULTRAPLAST B. Therefore, the roofing shingles are not directly exposed to the flame but reliably adhere to the melted surface of the underlay membrane.
Third-party tests have confirmed the possibility of TECHNONICOL shingles installation by torching method on a bitumen membrane laid on a non-flammable base.
The installation of the roofing shingles with torching method should be carried out by qualified specialists who have the appropriate outfit (protective suits, safety facilities), equipment (a big and small torches, a metal holder for rolls’ unrolling and an assembled gas cylinder), and a list of necessary tools. The latter includes a fur roller with a tray, spatulas, a silicone roller, a drill with a cross bit and galvanized self-tapping screws, a roofing knife, construction gloves, a sealant gun with the sealant, a level, tin snips, a chalk reel, a measuring tape and a hammer.
Installation process
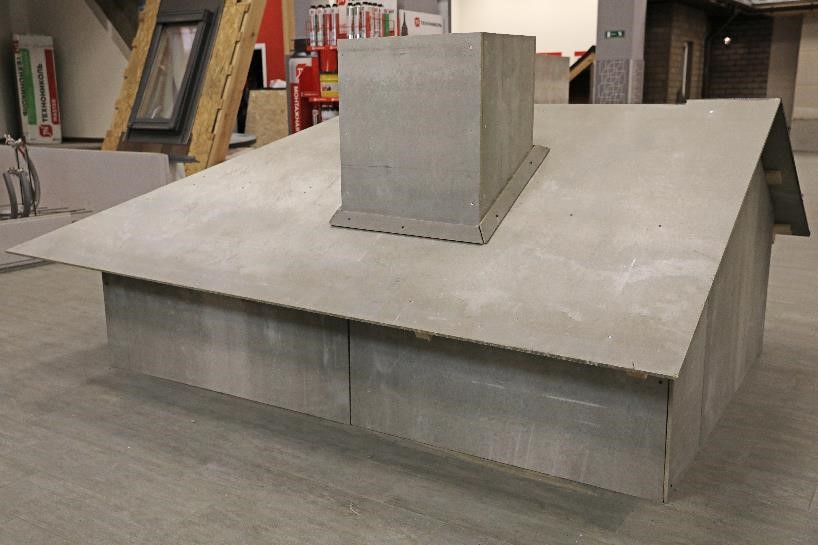
- Preparation of the surface
Installation of the roofing system is to be performed on a continuous, dry and even decking. The relative humidity of the surface should not exceed 4%.
At first, clean the base from debris, dirt and dust and, if necessary, level the surface. In order to provide reliable adhesion of the underlay membrane to the surface, apply a thin layer of BITUMEN PRIME COATING by TECHNONICOL with a fur roller.
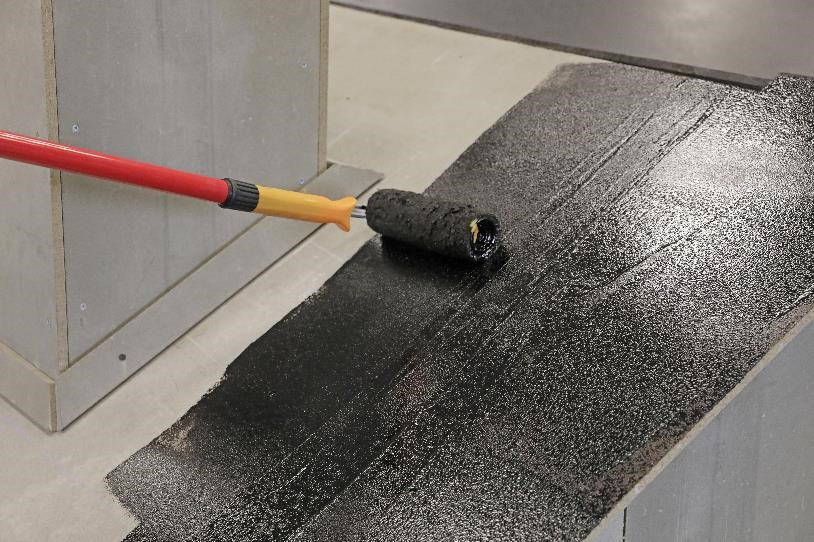
After priming the surface, leave it to dry. Drying time depends on weather conditions during the works and usually does not exceed 12 hours at a temperature of 20 °С. To check the condition of the surface, attach a white cloth to the decking. If it does not stick and there are no black stains, then the surface is ready for further work.
The base is not ready
The base is dry
- Reinforcement of eave and fronton overhangs
Metal planks are installed on the overhangs, overlap on each other by 3-5 cm. Form the outer and inner corners by joining the planks together providing the same overlapping.
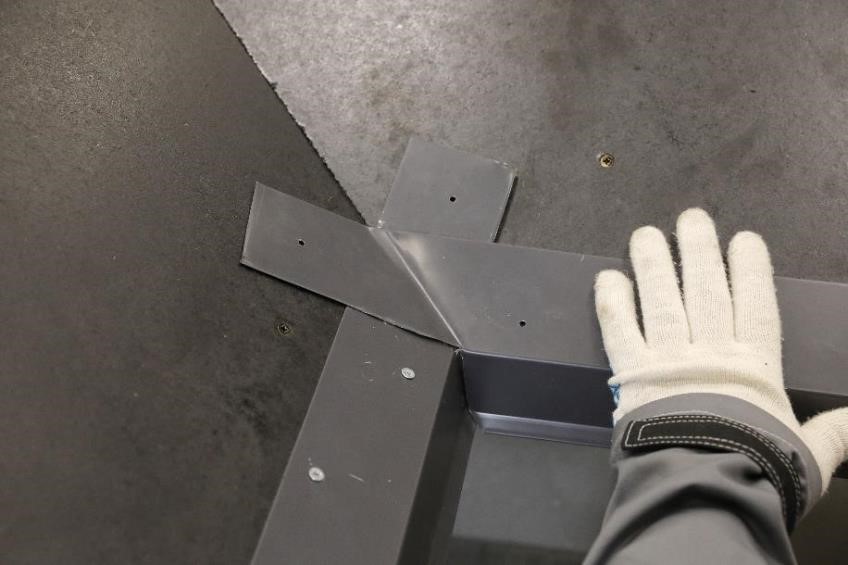
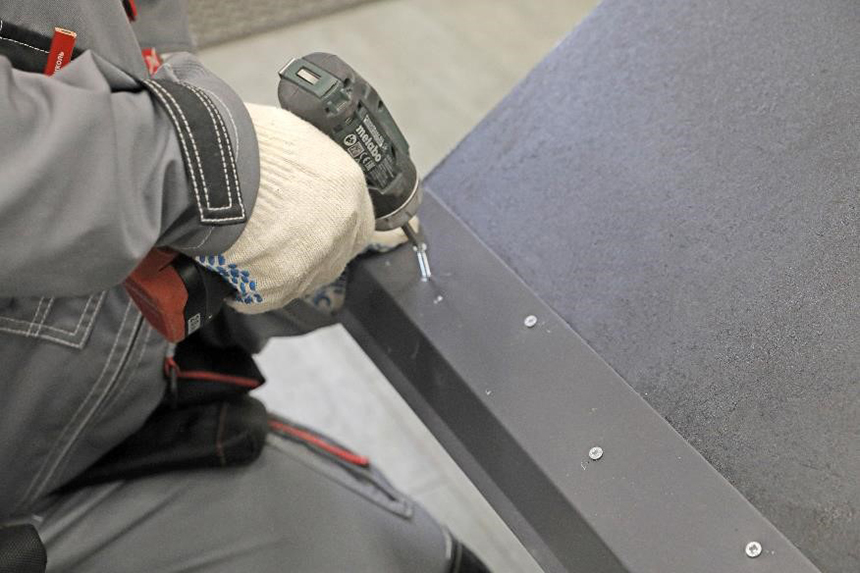
The fronton planks should overlap the eave planks. The planks are fixed with galvanized self-tapping screws or dowel nails (depending on the base type). The planks are fixed every 12-15 cm in staggered order.
NOTE: if the roof slope is from 5° to 12°, the fronton planks are installed before torching the underlay membrane to the decking. If the roof slope exceeds 12°, the fronton planks are installed after the torching of the underlay membrane.
- Installation of the underlay membrane in a valley
If there is a valley on the roof, installation is started from this zone. Before starting the work, measure the roof base and cut the underlay membrane to the required length.
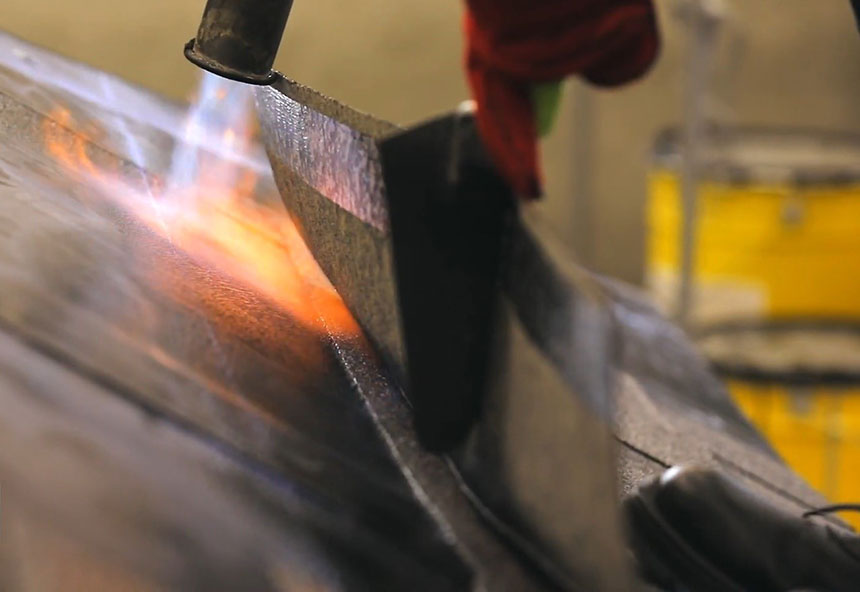
The underlay membrane is aligned exactly along the valley center (which gives 50 cm on each slope) leaving 2-3 cm from the bend of the eave planks. Before torching, roll each half of the membrane to the valley center and then torch it with gradual unrolling of the material along the slope. The torch should be oriented directly to the place where the membrane touches the base.
During installation, the membrane must be rolled to the surface with the silicone roller, especially at the center of the valley. Additionally, fix the material in the ridge zone with galvanized self-tapping screws with washers after the torching. The fastening span is 15 cm.
The bottom surface of the membrane is covered with a special protective film, which easily melts during the torching and does not interfere with the melting of the bitumen compound. For easy installation, the pattern on the membrane will indicate when the compound is ready to adhere to the surface.
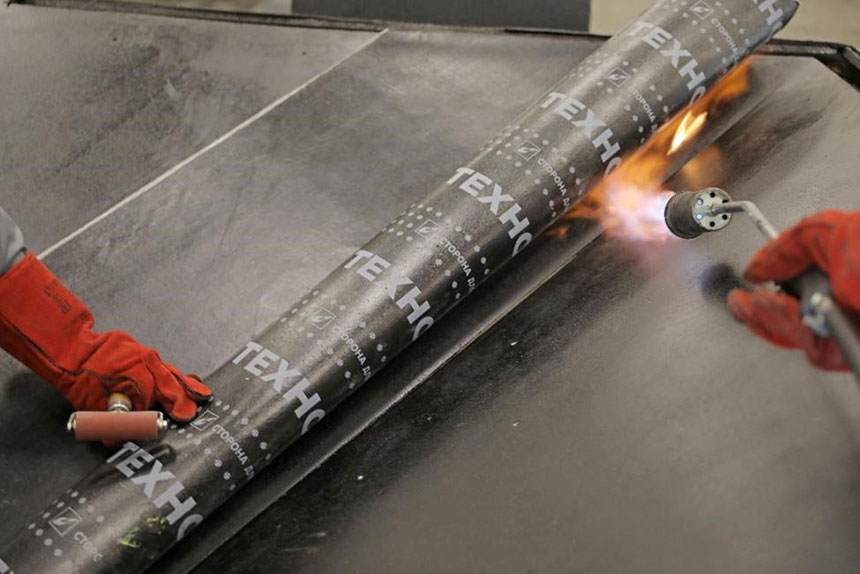
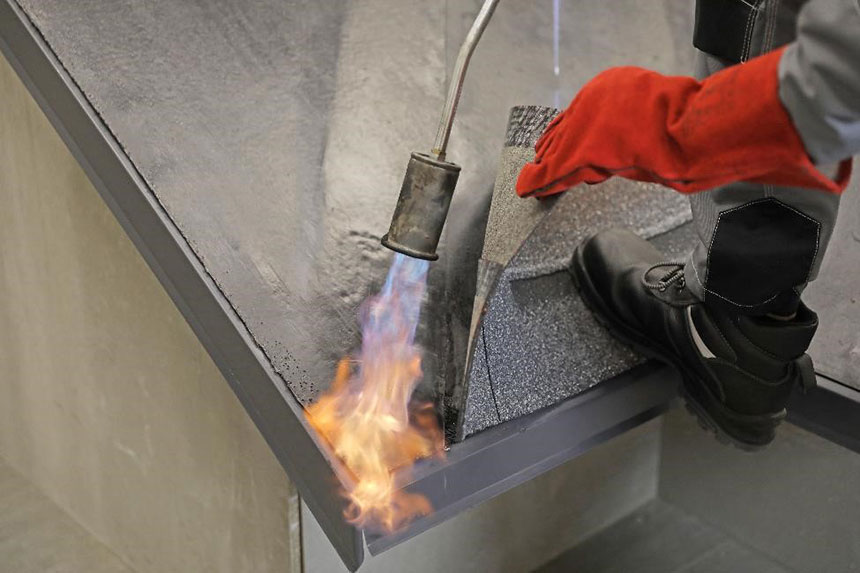
- Installation of the underlay membrane on roof slopes
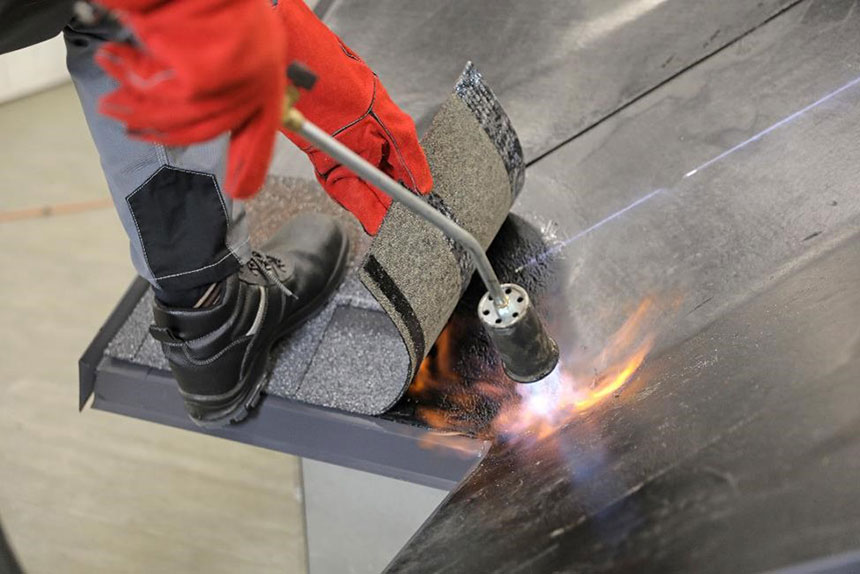
On the roof slopes, the underlay membrane is torched starting from the eaves. The roll is gradually rolled out, warming the material along the entire width at the junction with the base.
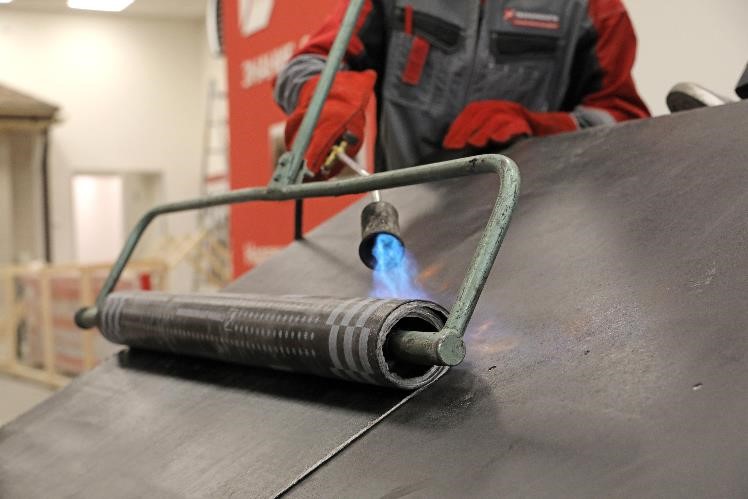
NOTE: It is necessary to control the intensity of the bitumen leaking: it should not exceed 2-3 mm.
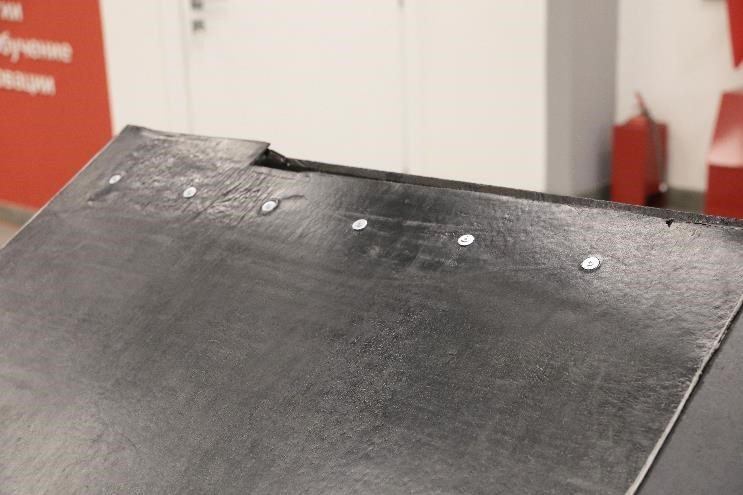
The following rows are torched with vertical overlaps of at least 15 cm. Horizontal overlaps with a width of 10 cm are additionally fixed with a span of 15 cm. Press the places of all overlaps with a roller. After torching, fix the membrane at the zones of hips and ridges with galvanized self-tapping screws with washers. The fastening span is 20 cm with a 7-8 cm shift from the edge.
NOTE: Walking on hot material during the works is prohibited to avoid damage to the top layer.
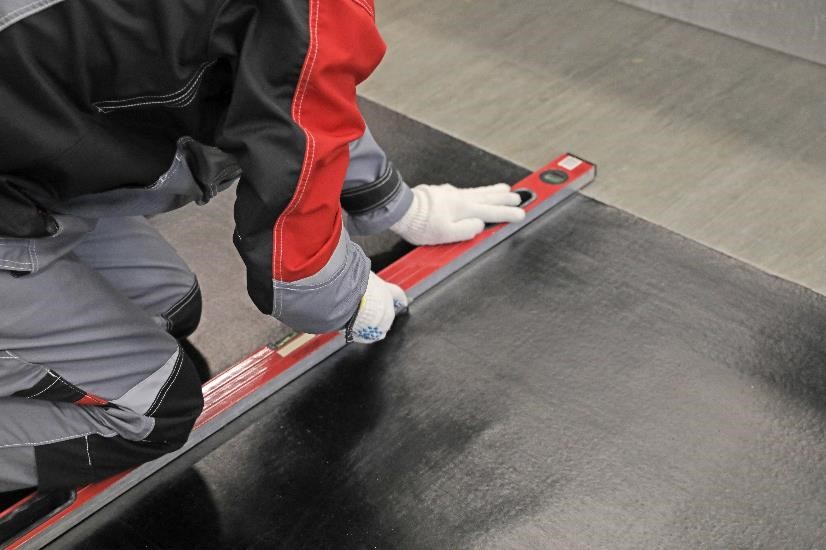
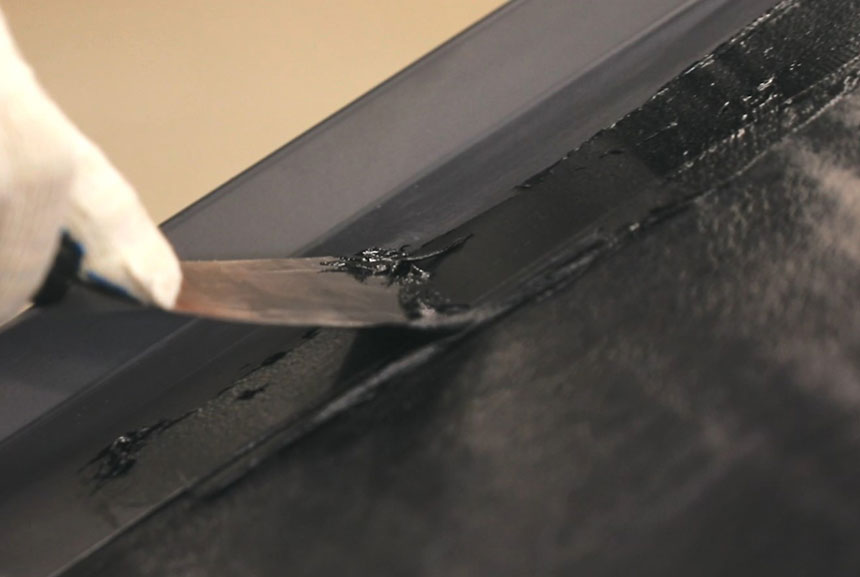
After the complete cooling of the material, it is necessary to check the quality of all overlaps with a spatula to make sure that they are sealed over the entire seam area. Areas with disturbed integrity should be repaired.
The seam is made incorrectly and requires repair
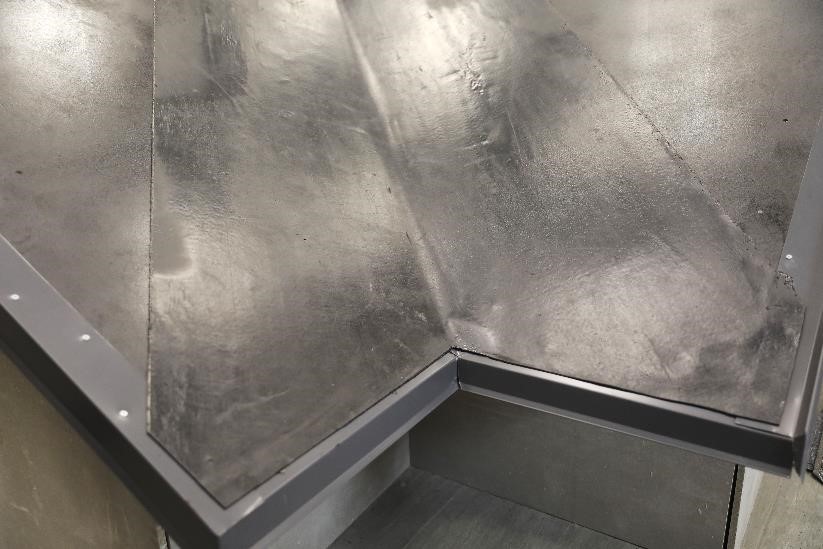
The seam is made correctly
- Installation of roofing shingles in the valley
For valley arrangement, use a “close valley” method, which does not require the installation of a valley roll material. At first, mark a line with the chalk reel on a steeper slope at the distance of 20 cm from the valley center. For convenience, cut the shingles along this line before installation.
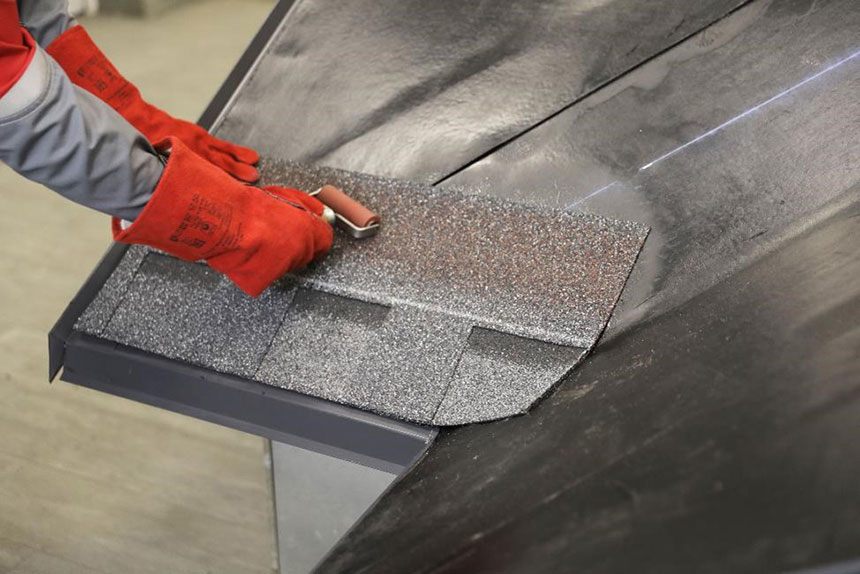
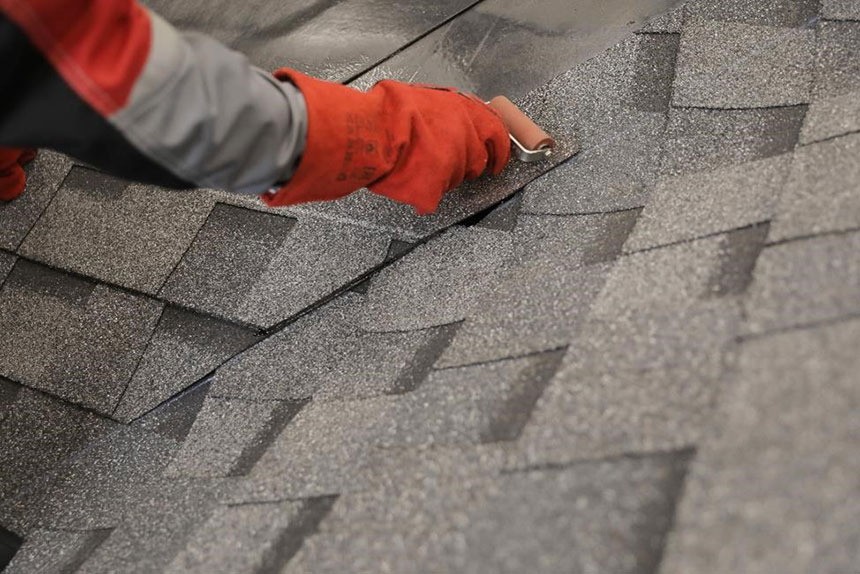
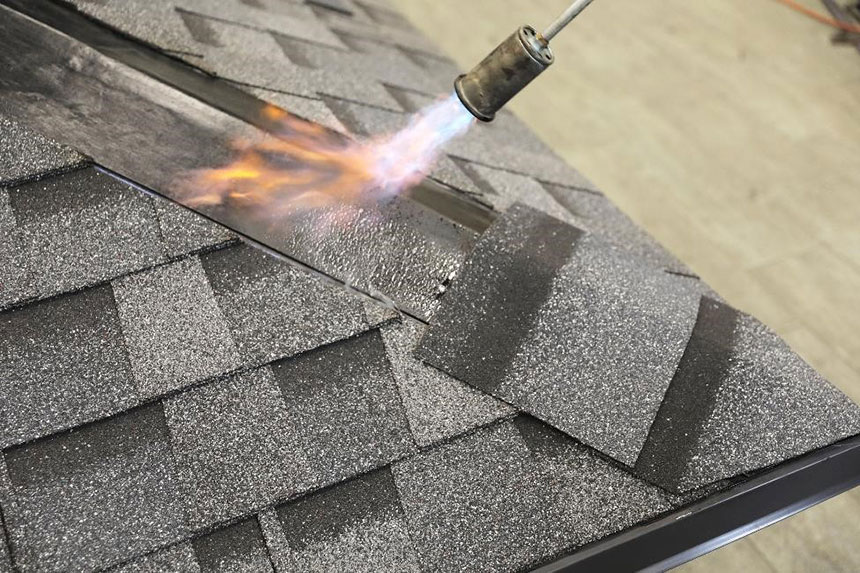
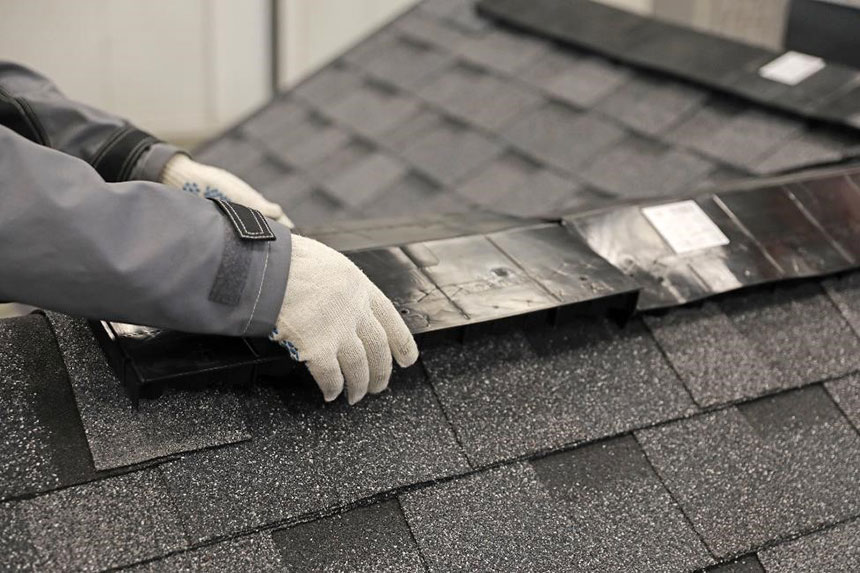
All shingles from the first row are aligned along the membrane line. Install the first shingle on a steeper slope in two steps. Press one half of the shingle (either left or right) and carefully bend back the other half. Then heat the membrane under the bent part with a torch.
Then press the shingle to the melted bitumen compound of the underlay membrane. Repeat the procedure for the other half of the shingle.
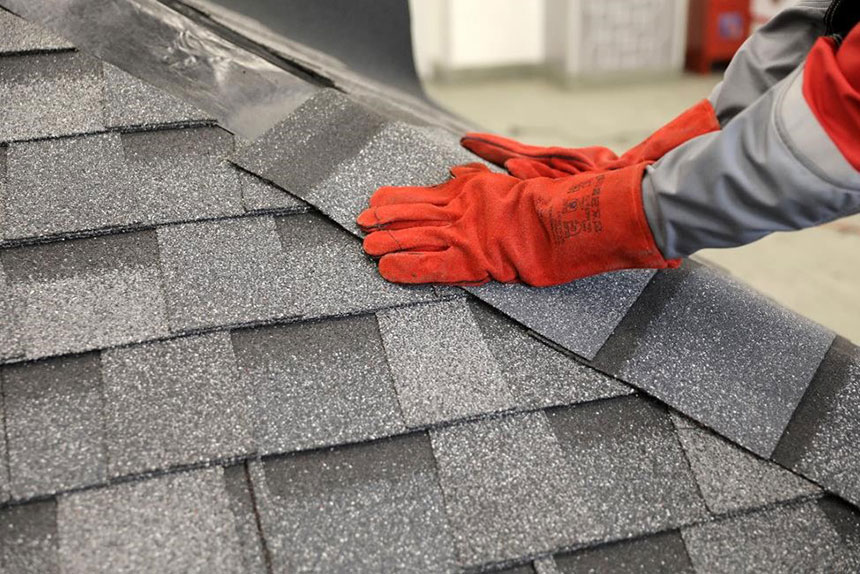
After torching, press the shingle with the roller. Do not cut the part of the shingle, which comes to the opposite slope.
Install the starting shingle at the opposite slope in a similar way. Thus, an overlap is formed in the valley zone. Do not forget to press the shingles with a roller.
NOTE: During the torching of the shingles, the flame of the torch should be directed only to the underlay membrane and not to the inner side of the shingles.
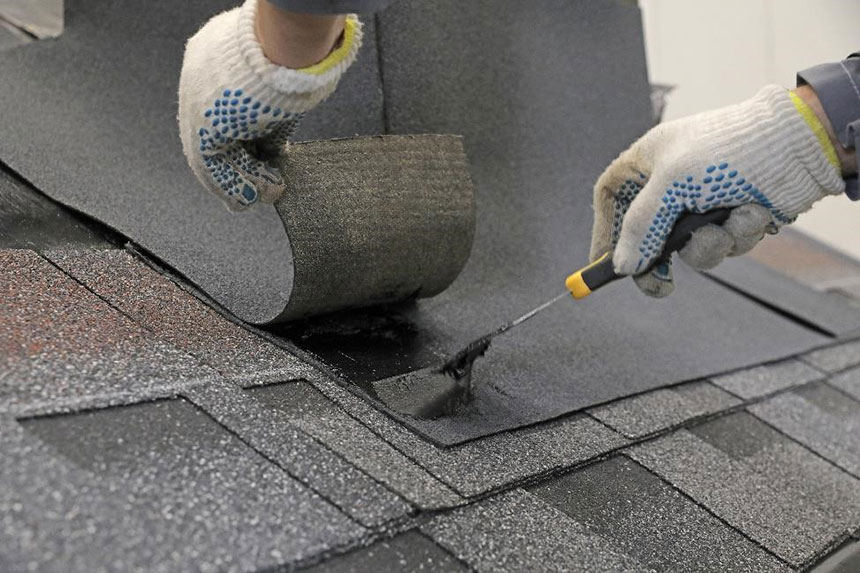
In the place of shingles overlap, torch only the upper part, where the shingle contacts the underlay membrane. Press the lower part of the shingle, turn up the upper part with the spatula and torch. Then, press it with the roller.
Continue installing the shingles on that side of the valley along its entire length, bringing the shingles to the line marked with the chalk reel on the steeper slope.
Then install shingles on the steeper slope. Here the shingles are cut at a distance of 7-8 cm from the axis of the valley, for which it is also convenient to use the chalk reel. Apply a 10 cm strip of mastic TECHNONICOL FIXER along the line of overlap of shingles. The thickness of the layer should not exceed 1 mm. Do not torch the coated area of shingles overlap.

- Installation of roofing shingles on roof slopes
One can start the installation of roofing shingles both from the valley and from the edge of the slope.
Install the first and following rows of shingles according to the technology described above. In one row, the shingles are installed end-to-end.
Shingles are installed so that there is a gap of 1-2 cm to the outline of the roof. In the case when the fronton plank is fixed on top of the underlay membrane, it should be pre-covered with TECHNONICOL FIXER mastic (the width of the strip is 10 cm, the thickness of the layer is 1 mm). Do not torch the coated area as the mastic itself will provide the required adhesion with the roofing shingles. Cut the corners of the shingles that come out on the fronton planks for correct water withdrawal.
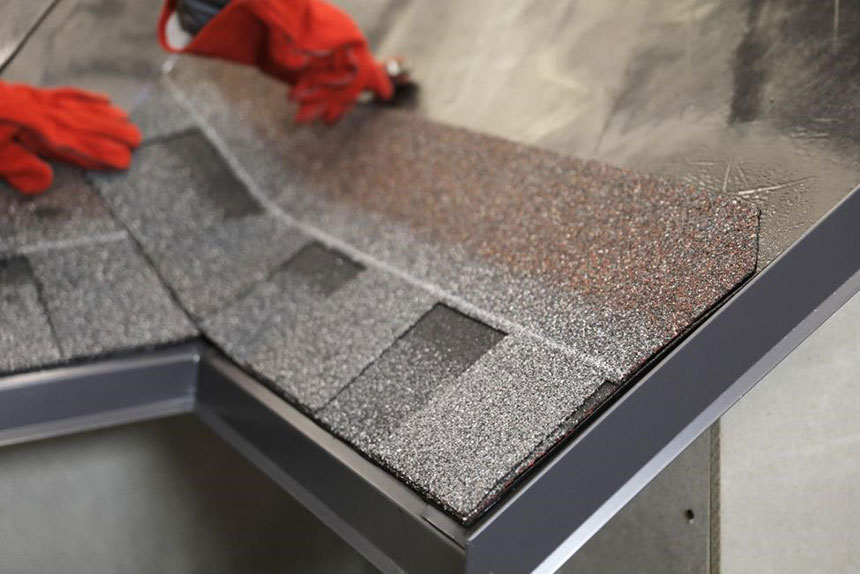
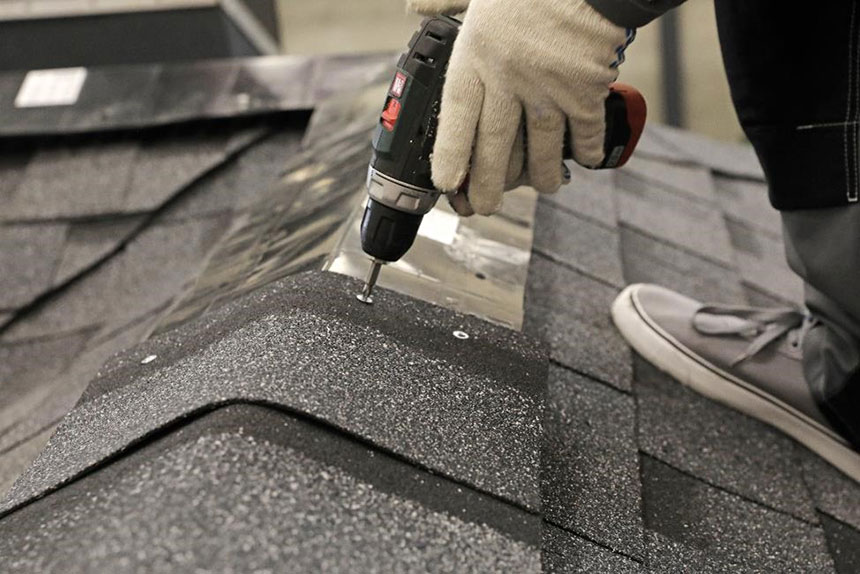
The shingles of the upper row adjacent to the ridge are not torched. They are cut and fixed with self-tapping screws with washers with a span of 15 cm.
- Arrangement of hips
Cut the shingles adjacent to the hip at a distance of 12 cm to each side of the hip axis and perform the regular torch-on installation. Prepare a 24-cm-wide cutout from the underlay membrane for the entire length of the hip so that it fits the gap tightly. Torch the element and press it with the roller.
Then torch hip & ridge shingles to that strip from the bottom upwards, observing the cascading. Remember to direct the flame of the torch to the underlay membrane only. The next shingle should overlap the previous one by 3-5 cm.
- Arrangement of ridges
If the roof slope is less than 12°, TECHNONICOL ridge vent is not installed. In this case, torch an additional strip of underlay membrane on the ridge, followed by torching of hip & ridge shingles on the same principles as on the hips. With a greater slope, the installation of ridge vents is required. They are fixed to the base with galvanized self-tapping screws of 60 mm in length.
Cut hip & ridge shingles to the width of the ridge vent and fix them through the vent directly to the base with galvanized self-tapping screws with washers using 4 pieces per element.
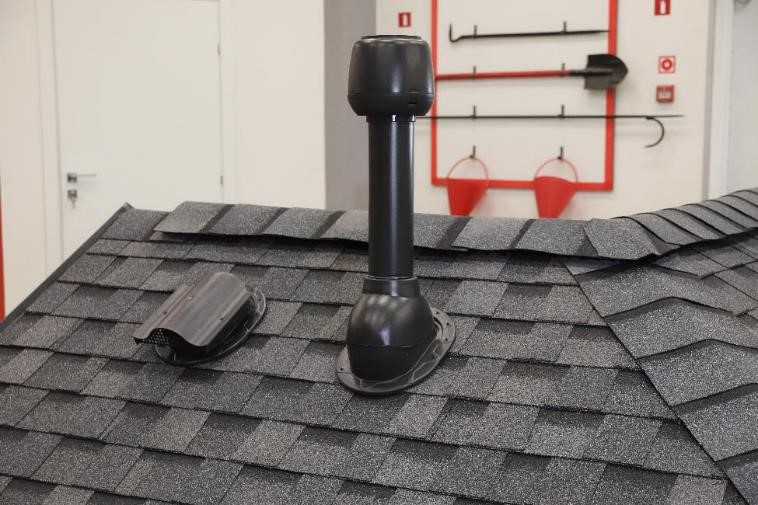
For the arrangement of various roof units, TECHNONICOL Company produces plastic elements for roof ventilation, including continuous and spot ridge vents, roofing outlets, etc.
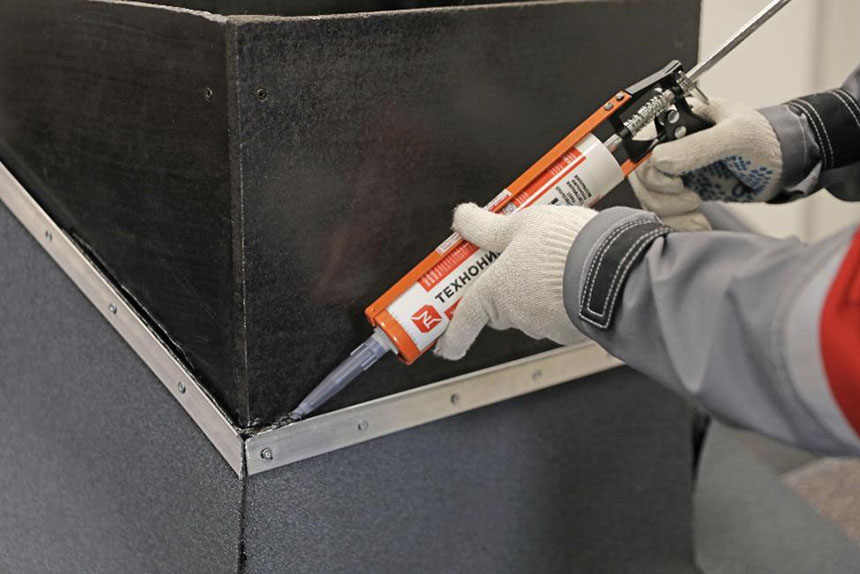
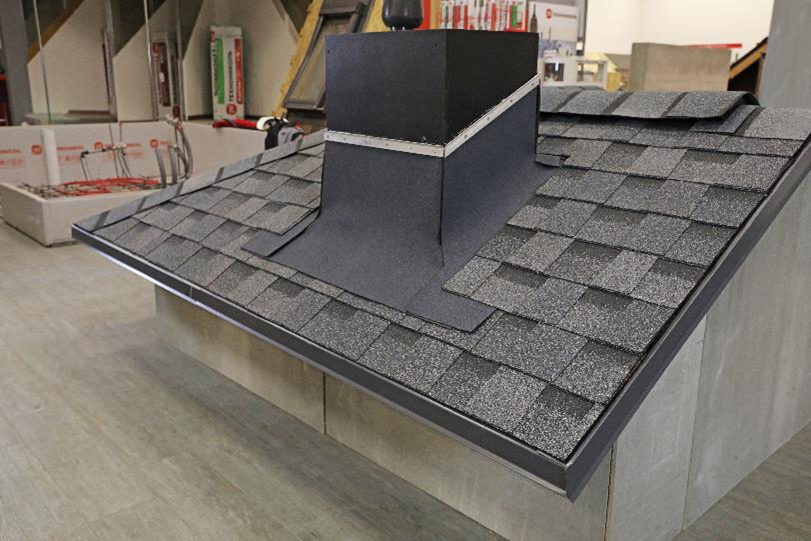
- Arrangement of joints with chimneys and walls
To seal the chimneys and vent pipes, prepare the cutout of the valley roll material by TECHNONICOL.

Coat it with mastic TECHNONICOL FIXER and attach, observing the cascading.
Torch the cutouts of the valley roll material overlapping the underlay membrane.

Coat all overlaps of valley roll material with mastic TECHNONICOL FIXER. Do the same for joints between the valley roll material and the roofing shingles. The junctions of the valley roll material with the chimney should be covered with metal flashings and then sealed.
- Installation of ventilation components
For the installation of penetration elements on the roof, it is necessary to provide through holes in advance during the construction of the decking. After roofing shingles application, install the pass-through components by TECHNONICOL. They are fixed with self-tapping screws with an EPDM rubber seal. A pass-through component is a base on which the final roofing outlet is selected depending on the functionality.
It is recommended to use the pipe-type vent for ventilation of the sub-roof space when the roof slope is less than 12°.
The installation is finished! Your roof is ready to serve faithfully for many decades.
You can get additional details of the roofing shingles installation by the torching method in the video instruction below.
Back to blog list